
Table of Contents
Kevin from 3D-DIY got in contact with me after reading my review of the DIPA 3D FEP Film and asked if I would like to review his RGBW lighting kit. This is something I have been looking at doing, so I obliged! Let’s find out more…
But first, about 3D-DIY
Kevin Krüger is the man behind 3D-DIY.de. He has always been a tinkerer, keen on electronics, computers and new technology. In 2017 Kevin got a little more involved in electronics again and bought an Arduino. Soon after that he needed more equipment and got interested in 3D printing. He bought himself his first printer, a Tevo Tornado, in December 2017. It was one of the first generations, so it had horrible drivers, unreliable USB connection and a Salmon Skin issue.
As a tinkerer, Kevin started to swap the mainboard and drivers and was one of the first people in the german community to add TMC2130 drivers to his Tornado. Kevin made a tutorial on this of which people really liked and so got to starting his brand as a blog where he could share his projects. There were some other things Kevin had created and which other people also wanted to have. As a result, this is why Kevin finally launched his shop a year ago. It is still only a side business. However, he still has a “normal” 9-to-5 job as an Online Marketing Specialist – which helps a lot with the blog and the shop.
Specifications
- Input voltage: 12-36V
- Output voltage (regulated) 12V
- Selectable voltage bypass (Means you can use 24V LEDs)
- Max output current: 2A
- Control signal:3-5V PWM
- Dimensions: 10 x 4cm
- Colour: Black
Features
- Built-in 12V regulator
- Connect RGB LED strips directly to the printer
- Bypass for direct power supply to the LEDs
- Made from high-quality components
RGBW Lighting Kit
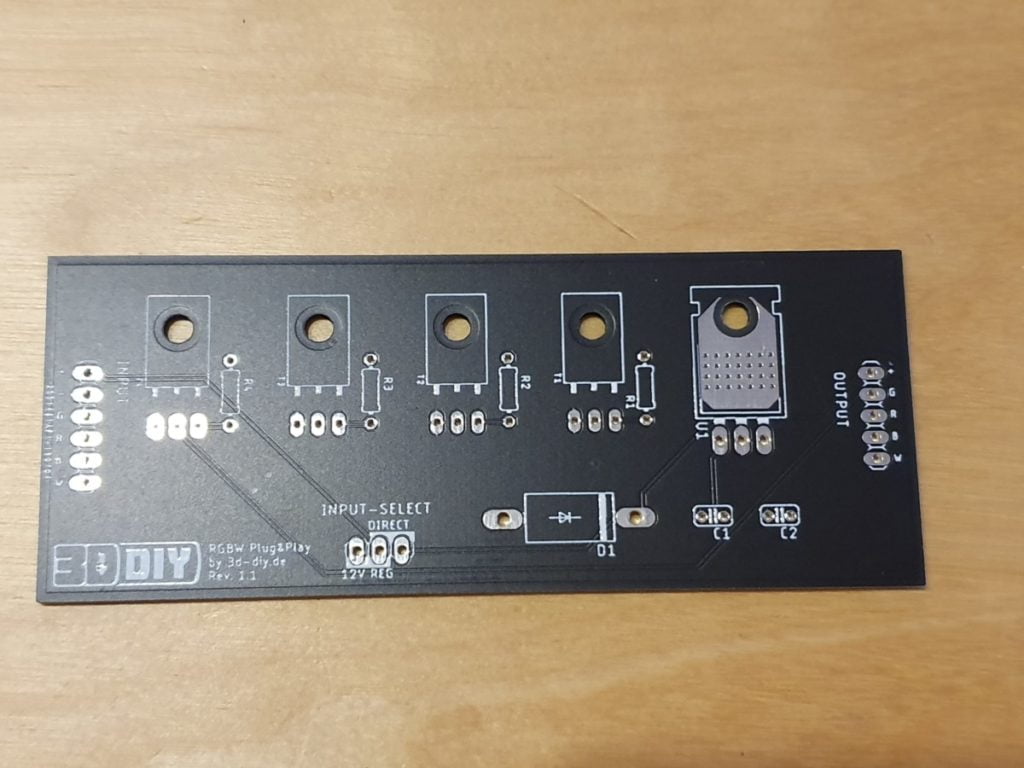
The RGBW Lighting Kit came to me in a padded envelope. Inside, the PCB was separate, and all the components were packed together in an anti-static bag. This had a sticker on to list the contents and the webpage on how to install. The link to the instructions are clear and laid out well. The overall quality of the PCB and components were great, especially the PCB! It had a sense of high professional quality about it with clear markings on where the components are placed.

Installation
If you are new to soldering, I would recommend looking up the basics beforehand. I am by no means a professional when it comes to soldering, but I have the know-how. There is no set order really on what to install first, so install each piece as it arrives! Just insert the component into the relevant hole, and then if required, bend it to the board. If you turn the underside pins before soldering, this will help keep the components in place.
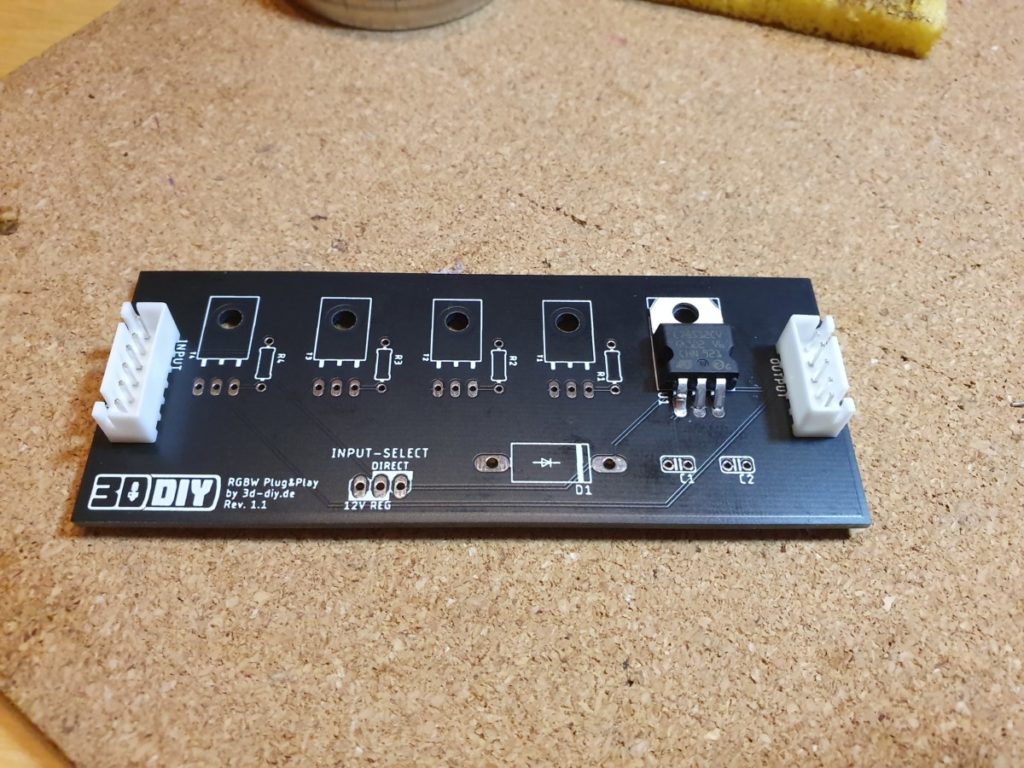
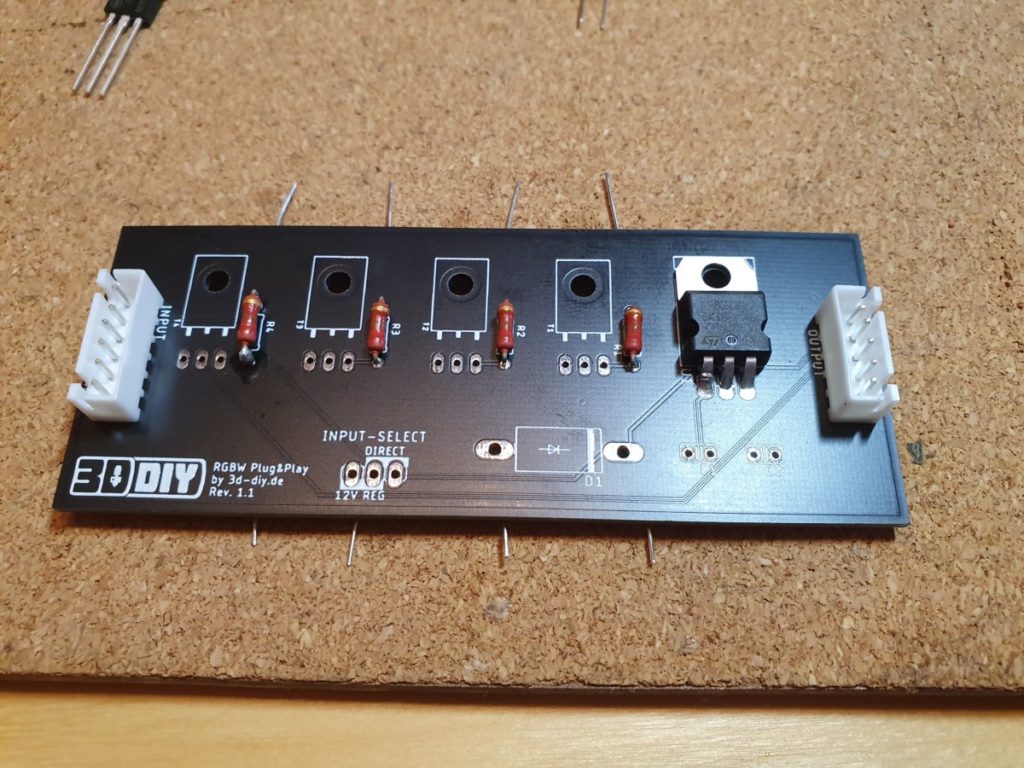
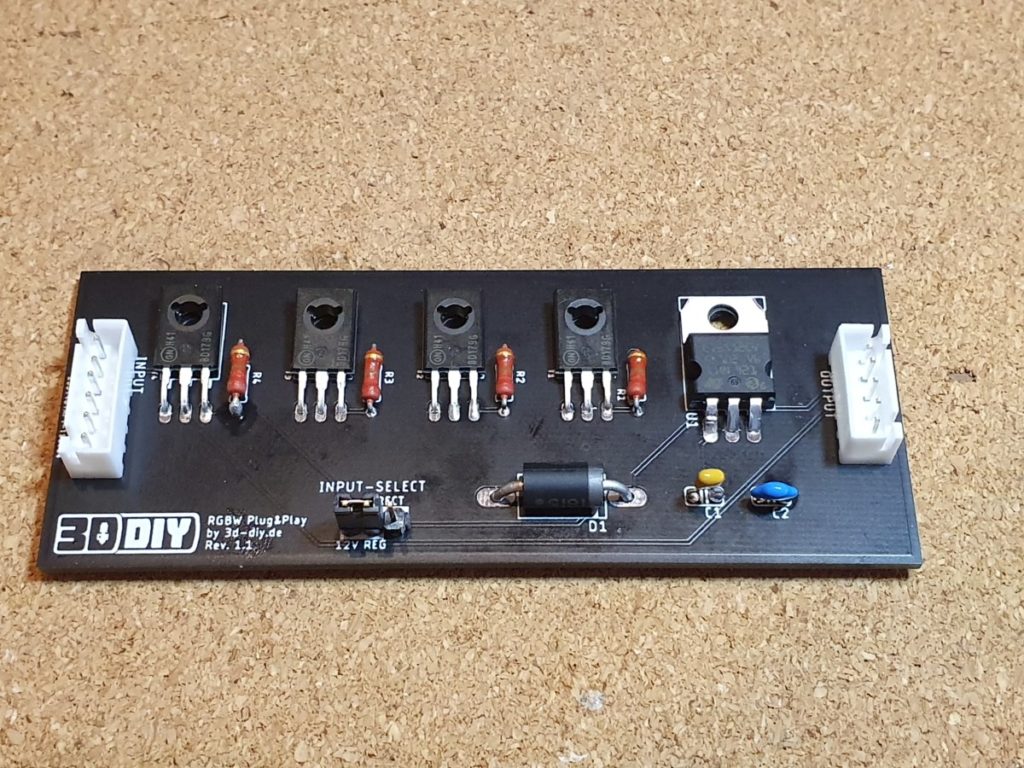
Once everything is solder and in place, snip the pins from underneath to the solder point.
The next step in this process, which is not detailed as it is not part of the kit, is to wire up some LEDs and prepare my wires to connect to a power source. I have some cables from a Dupont connector kit, so I just used them. For the output, I picked out the colours for the corresponding RGB, and then a different colour for the 12V+. I soldered these to the LED strip and then used heat-shrink to secure them. The other end I connected the wires to a JST connector.
The LED strip I am using is 5050 RGB LED strips from Amazon.
For the input, I used the same colours, but you then need an additional wire for the 12V-. I connected these to a JST connector with the other ends being bare.
-
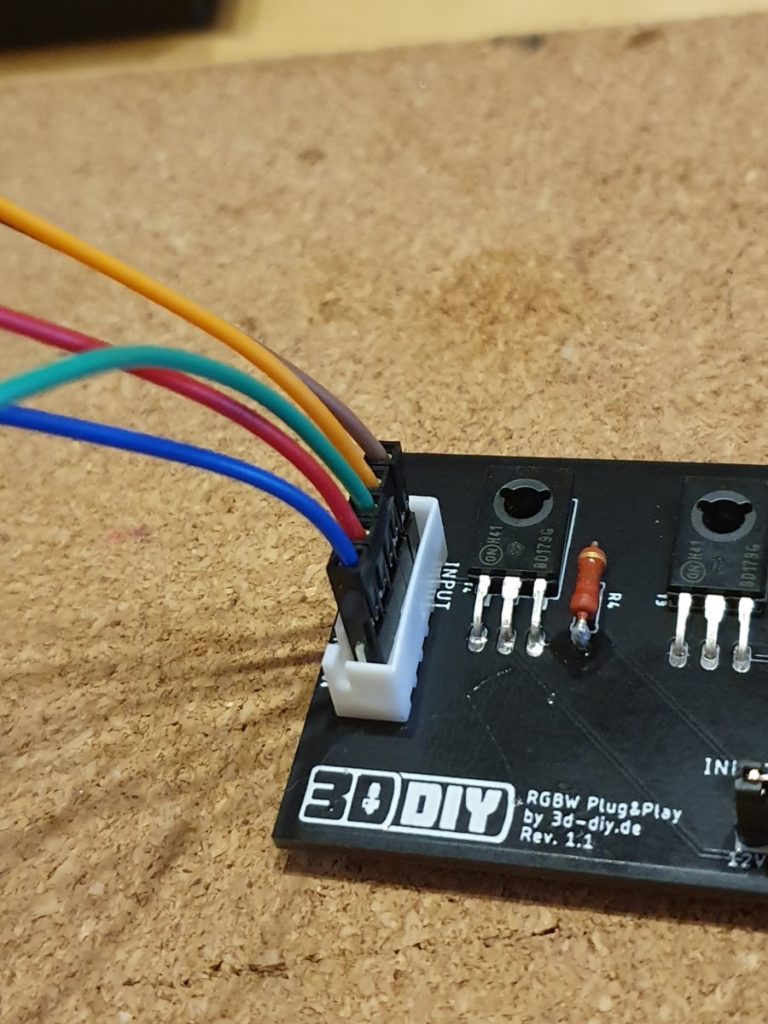

- Input
-
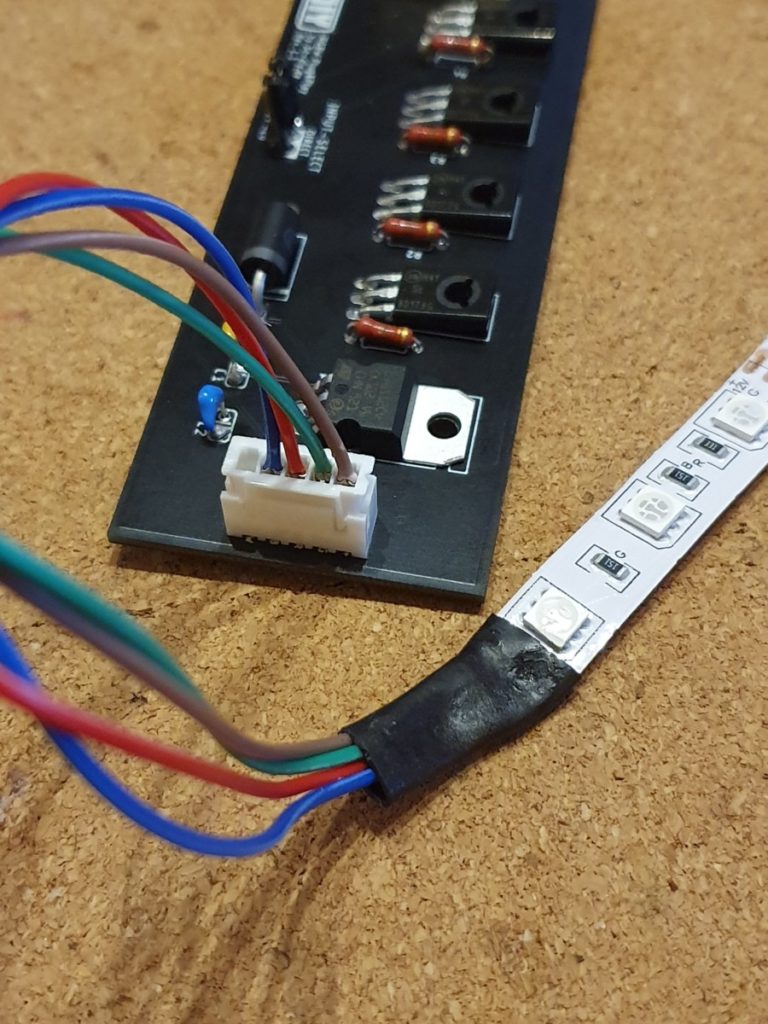
- Output
The process was straightforward, and once I had finished, I felt a great sense of achievement! It was a joy to put this together, but now comes the fun part of configuring the RGBW Lighting Kit to work with my Ender 3!
Configuring
Configuring these LEDs can be a bit tricky. The reason being is you need 3 x PWM pins available on your board to connect your LEDs to. This allows you to turn them on, off and change the brightness. I have installed the SKRV1.3 board on my Ender 3, which does not have enough pins. If I was to use just one pin, I could only control one colour. If you do have a capable board, then you will need to amend your Marlin firmware to control the LED. These are detailed on the site if you are going this route.
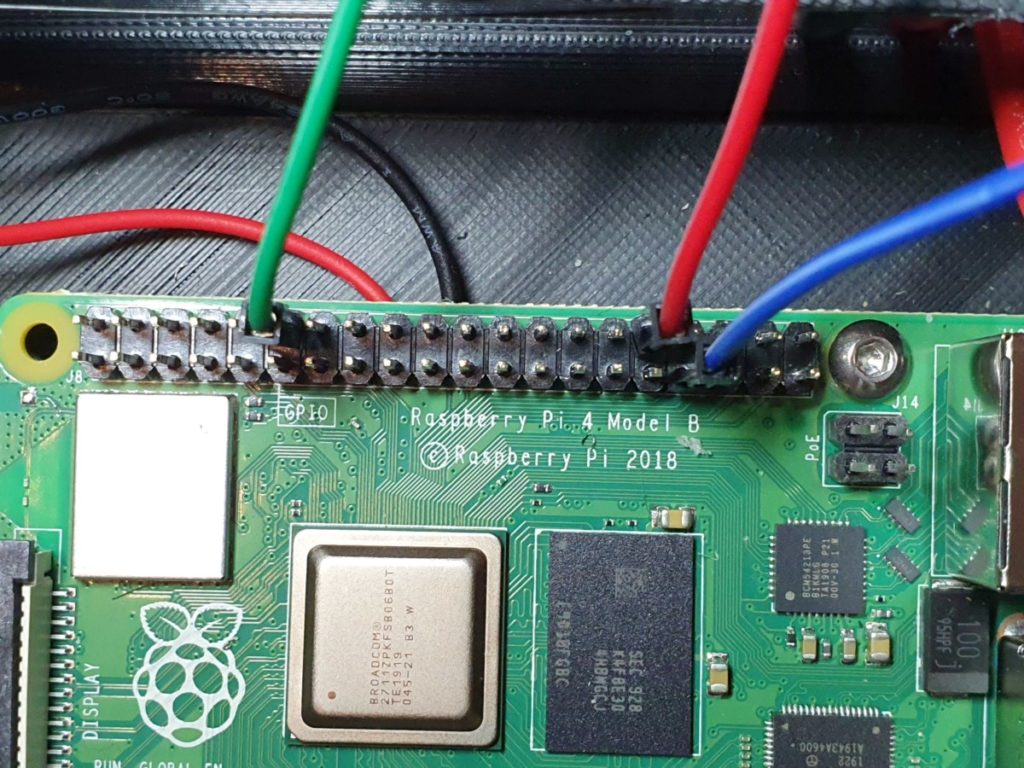
Please note: This kit was originally designed to be configured using Marlin, however, as I have my Raspberry Pi4 connected to my Ender 3, which has the capability of multiple pins, I will be using that for this install.
You can view a pins diagram here of the Raspberry Pi.
The pins I will be utilising are as follows as they are all labelled as PWM:
- Green – Pin 12
- Red – Pin 32
- Blue – Pin 33
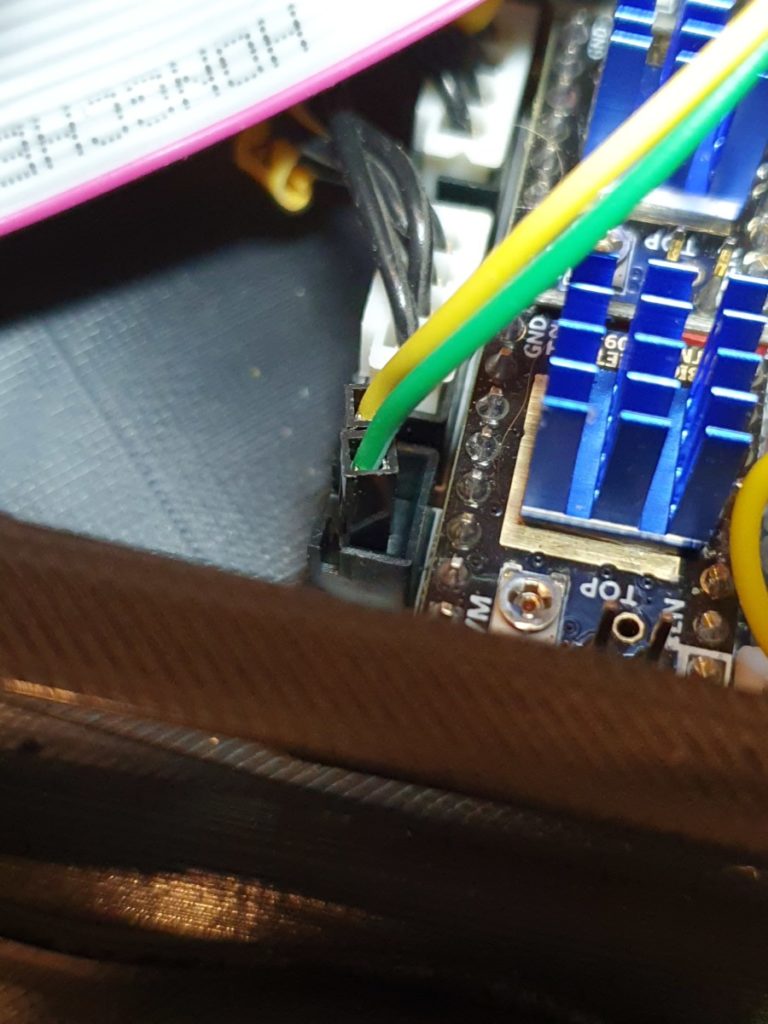
For the power source, I have connected it to the top left fan port of my SKR V1.3 board which is 12V. You could use any other port that is 12V too.
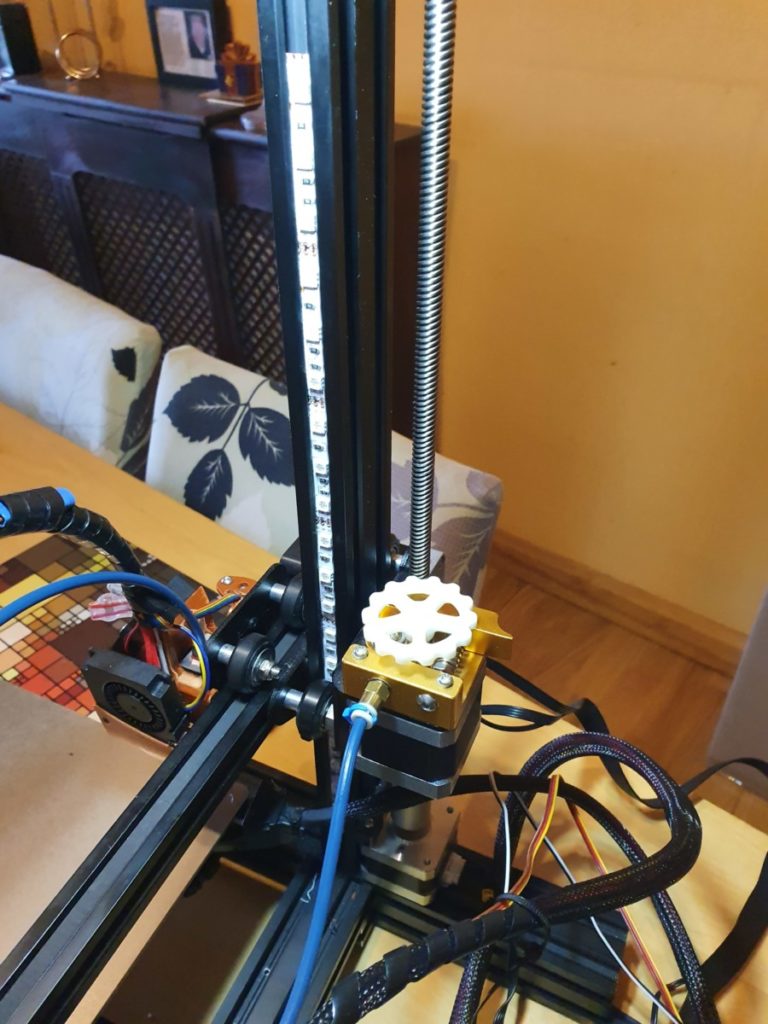
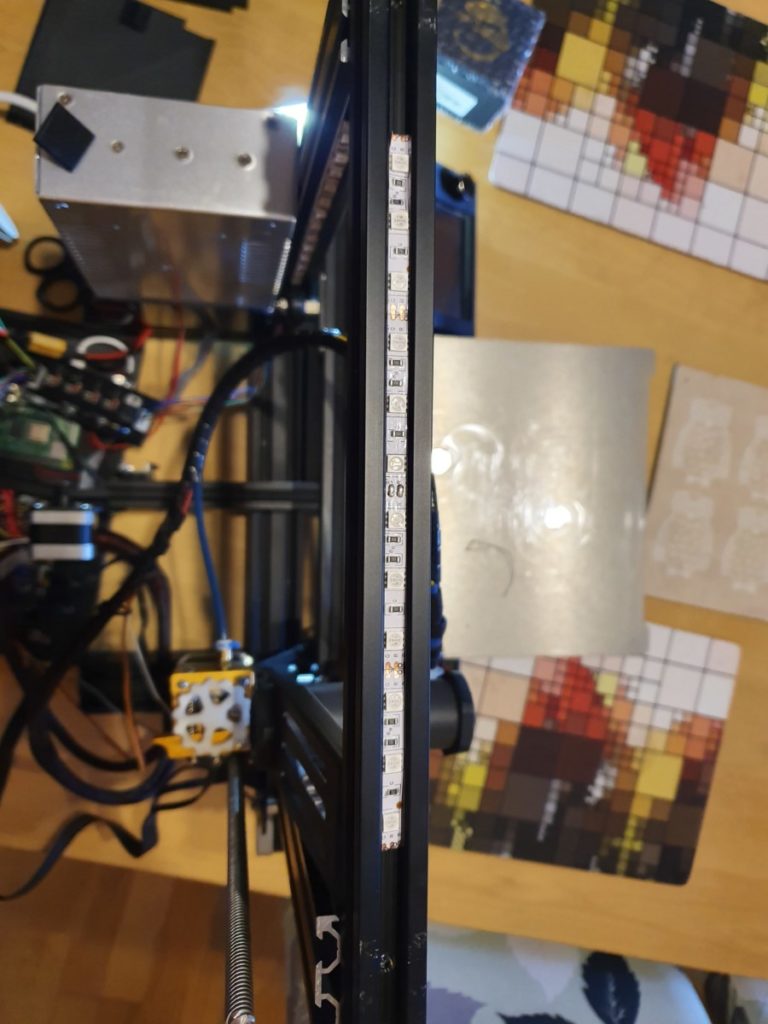
Now it’s just a case of placing your LED strip on your printer. As mine is to wide to fit into the extrusion from the outside, I undid the top bar and then slid them down into the extrusion. You will need to solder three separate strips together so you can accommodate for the right angles when the top bar is put back on.
-
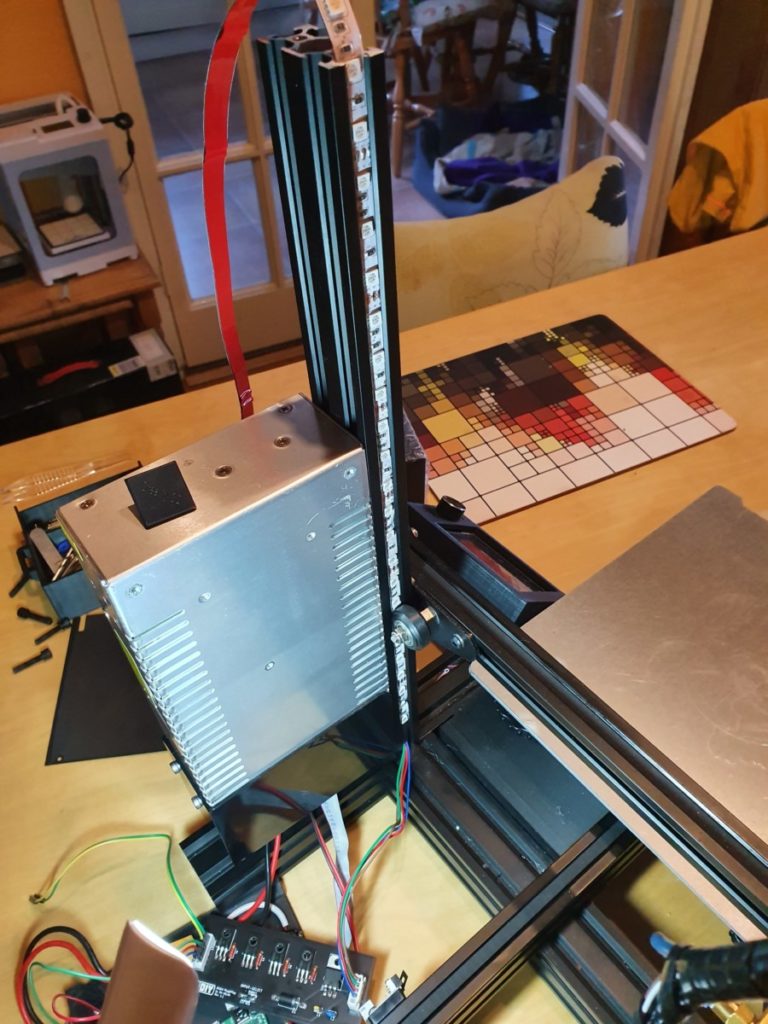
- Right side
-
- Left side
-
- Top bar
-
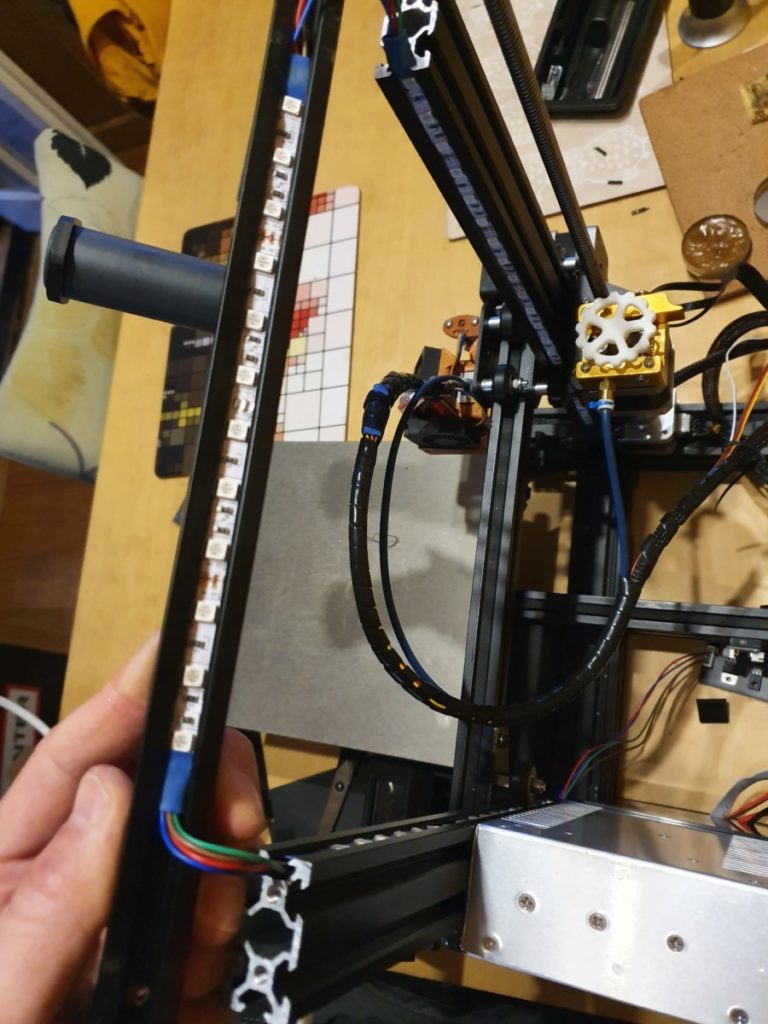
- Wired up
Programming
As I am using this with Octoprint, you will need to download the plugin LED Strip Control. This allows you to use M150 commands to control the LED lights. For example, on the terminal tab in Octoprint, if you type in M150 R255, this will turn your LEDs Red with full brightness. M150 B255 will turn them Blue and M150 G255 will turn them Green. If you do M150 R255 B255 G255, your LEDs should then turn White! You can change the value between 1-255 for the brightness of the LEDs if you so wish.
If you want to see what the different RGB colour codes are, I found this handy tool that helps! If you’re going to do a test of your LED’s once installed, load up this Gcode file into Octoprint and press print. It will cycle through different colours. (Courtesy of this Gcode file goes to AngelDMercedes)
Putting these M codes into your Gcode script on your slicer should then relay to when you start printing. For this example, I will be going Red when the heated bed is heating up and purple for when the extruder is heating up. It will be white while printing and green for when the print has finished. As I am using the M code, I am limited as to how it works; however, with Marlin, you have much more customisation when it comes to the colour spectrum. Details of this are on the 3D-DIY page
Gcode
Within your startup Gcode in your slicer, you can add variants of the following. The G4 S1 commands mean for it to pause for 1 second before moving on to the next command. As I am using Simplify 3D, these will be in the Scripts tab.
- M190 S50; set bed temp
- M150 R255; turn on red LEDs
- G4 S1
- M104 S210; set extruder temp
- M150 R255 B255 G51; turn on purple LEDs
- G4 S1
- M109 S210; wait for extruder temp
- M150 R255 B255 G255; Turn on White LEDs
For the end gcode script
- M150 B255 G255; turn on light blue LEDs
- G4 S1
- M104 S0; turn off extruder
- M140 S0; turn off bed
- M150 G255; turn on Green LEDs
I am still playing around with the gcode to get it how I like it, but the above is a small example of how to get it working.
Party time!
This is the gcode that is linked above in action cycling through different colours. I have sped this video up x2.
Timelapse
Here is a timelapse of Wolfman by Vinicius Nunes Cardoso I did while using the RGBW Lighting Kit to show the brightness you get
Find out more
If you would like one of these for yourself, it is just €16.49. If you want it already assembled it will be €24.99, but its more fun to solder yourself. You can find the kits here. I recently reviewed the Resin Display Protection Vinyls from 3D-DIY. There is a limited discount code too of which may still be valid, so make sure you check that out also!
Like the 3D-DIY Facebook page and if you’re feeling generous, buy Kevin a coffee!
Conclusion
To sum up, I enjoyed putting the RGBW Lighting Kit together. It helps you fine-tune your soldering skills, and you get a great sense of achievement once it is done! (Well, I did anyway) The build quality is excellent, and the fact you have all the components to get you started is good. Having lights on my 3D printer now helps when it comes to recording time-lapses, and also at a glance, I can tell what the state the printer is in. Also, it looks cool!
I have high hopes for 3D-DIY if they can continue to produce goods of this quality and not your general mainstream 3D printer stuff. I will be keeping an eye out for future products, that’s for sure!
Enjoyed this review? Check out Resin Display Protection Vinyls or how about Wemos D1 Mini Octoprint Monitor tutorial.