Table of Contents
After the success of printing the OpenRC F1 Car I was looking at doing another RC model. While browsing Facebook, Martin Brida published a great looking model called the Delage 15 S8. A classic car which looks great! I got in contact with him and now have the files to print. Read on to see how I printed this, how it put together, and it’s overall look!
-

- The Delage 15 S8 – Picture courtesy of grandprixhistory.org
I will be printing using my Anycubic Kossel Linear Plus for the main body parts, exhaust and the steering, using Eryone Galaxy Red PLA, Eryone Silk Silver PLA and Sunlu Black PLA+. For the tyres and seat, I am printing with Sunlu Black TPU on my CR10S which is fitted with the Micro Swiss Direct Drive. The wheels and dashboard, again, on my CR10S using Eryone Silk Gold PLA. The differential for the drive is being printed on my Ender 3 using Emvio Engineering Cardloaded PETG.
Starters Orders
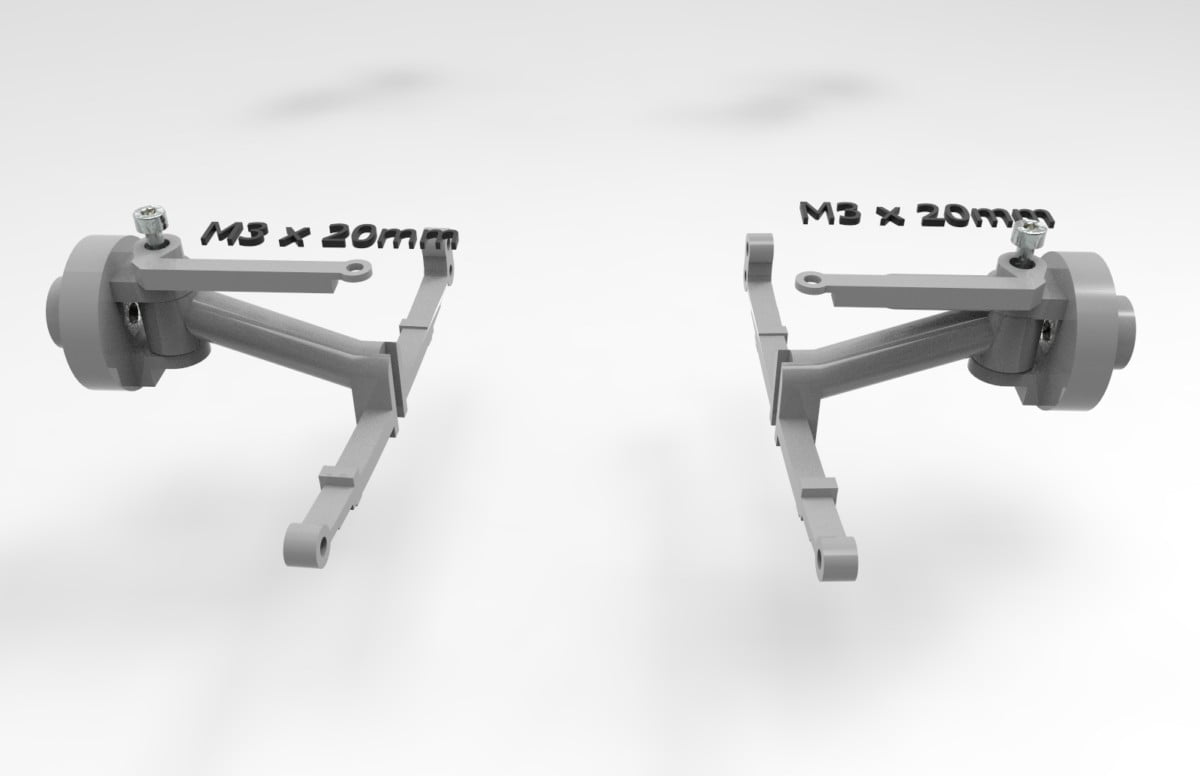
A link was sent to me to download the files after purchasing the Delage model. Contained within these files are obviously the STL files for the Delage as well as some simple graphic instructions. There is no real written instruction for this, but pictures as guides which show you where the parts go, where they are glued and what bolts to use.
Here are some examples:
In addition, some of the parts have also been cut for you. This helps avoid using excessive supports whilst printing. On one of the parts that was cut, there were a couple of errors with the file of which I have relayed back to the designer on this. It appears it was an issue with my slicer, as when putting into another slicer, the error wasn’t there so nothing to be concerned about, just be cautious! Some of the files, such as the steering arms are combined into 1 file which can me it difficult to print without using supports. I split mine up using Windows 3D builder so I can print them separate to orientate them better for printing.
The hardware
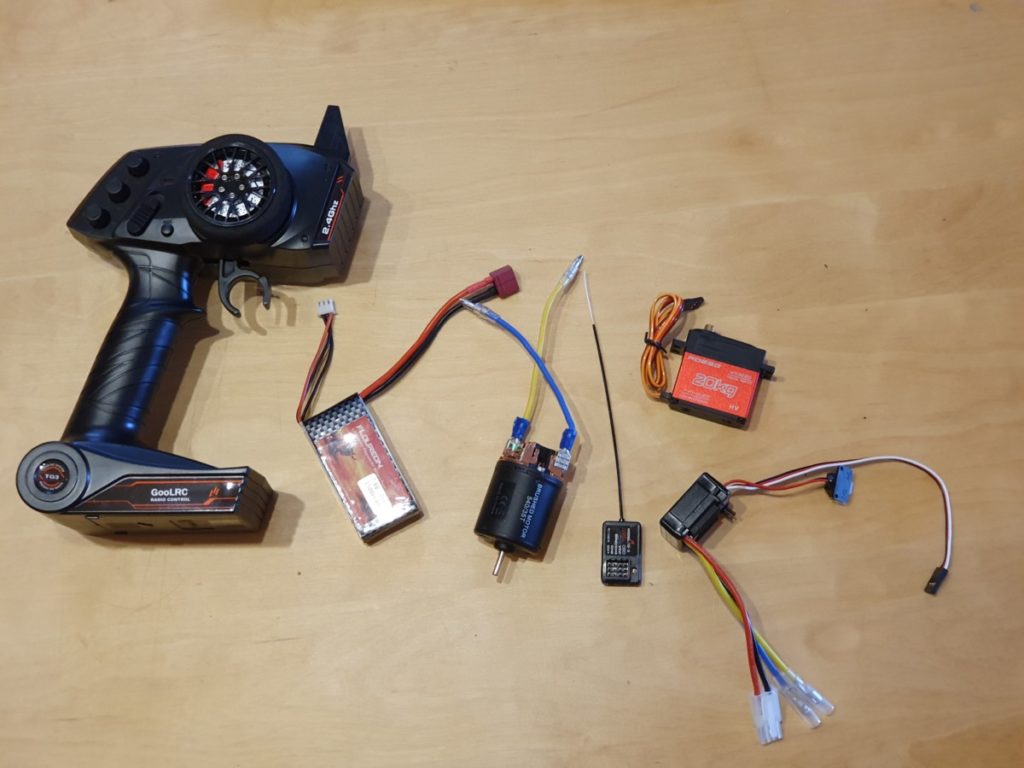
I purchased all the equipment via eBay and Amazon. Links below!
eBay
- Most of the bolts were bought from gwr-fasteners
- M3 x 10mm countersunk screws with locknuts from massiveattack007
- M3 x 10mm bolts from kayfast1
- Setscrews from spalding_fasteners
- Steel rod from engineering_suppliers
- 6221MG Servo from melisocy2017
Amazon
The total cost for me was £105.53 for all the hardware. That does include a 2nd battery and a few extra bolts!
Recommended settings
The recommended settings for printing the Delage RC car are as follows:
- Layer height: 0.2
- Infill: 20% – 30%
- Tyres – 5% infill
Supports will be needed where necessary, and it can be printed with any material you’d like. For the differential, I printed these with 50% infill to give a bit of extra strength. To print the grill, you need to use no top or bottom layers but 25% infill and two perimeters to get the effect of the grill. For the smaller individual parts, I changed my layer height to a 0.08mm.
Main parts
I wanted to start in getting the significant main components of the Delage out of the way, so I started with the main body of the car. The main body parts printed tremendous, and they look fab with using the Eryone Galaxy Red.
I’m looking forward to getting this put together!
Wheels & seat
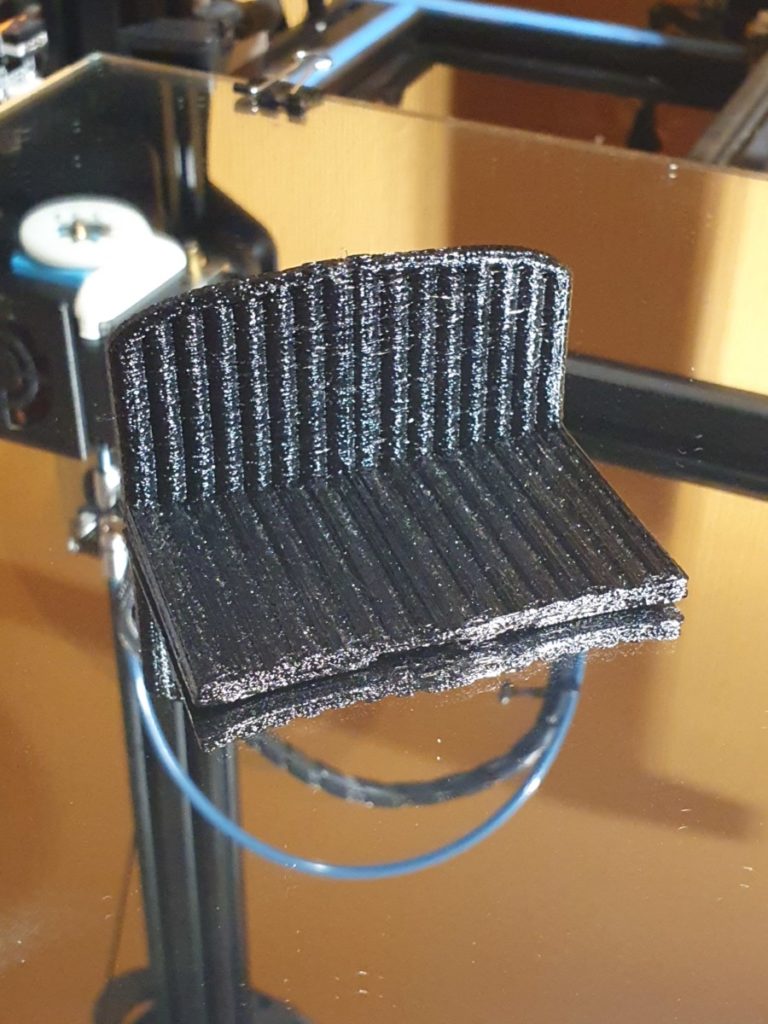
Printing the wheels and the seat was pretty simple, as I am using the Micro Swiss Direct Drive kit. However, my Sunlu TPU isn’t the best as its old, but it is functional! Perhaps if I print at a higher temp, I may have got better results.
Differential
Using the Emvio Engineering Carbloaded PETG, I printed all the Delage differential parts to maintain strength as this is a moving part! This printed well on my Ender 3 without any issues and fitted together nicely (after some slight trimming!)
Steering
Using Eryone’s Silk Silver PLA, I thought would give that metallic look to the steering and suspension, and I am pleased with these results.
Putting it all together
Now, as I was using multiple printers to print this Delage RC car, tolerances weren’t always perfect! As a result, this required some slight trimming and sanding for the parts to fit together. I had purchased the necessary amount of screws, but found I did not even need to use them all, so plenty of extras leftover!
The instructions aren’t overly clear when it comes to putting the Delage together. However, it is easy to work out yourself where certain parts go. I did experience a few issues, such as some holes not drilled out on the sides for part of the suspension. I’m not sure if the back section and middle can be combined and then printed in one piece. However, this may cause issues when installing the differential parts.
Also, I made was using some 3D printer belts to help secure the hood on. Just a couple of M2 bolts to secure it in. It finishes it off nicely!
The Delage RC car
Let’s see it in action!
I’m afraid there isn’t much action for me to show on this! The TPU to print the tyres does not have enough grip, so I’m going round in circles. Any recommendations on the flexible filament to use for tyres, please let me know! I will plan on re-printing the tyres at a later date once I find something suitable so I can get some good use out of this! Well, here is my doughnut!
Where can I get it?
If you’re interested in purchasing this mode go over to 3Dtlac and you can buy the files there. Also, you can buy a ready-built model for slightly more!. Would you like to learn more about this car have a look here.
Summary
To sum up, I thoroughly enjoyed printing and putting this together! The design is excellent and has lots of small features. At the time of writing this, there is an updated hood file for this car. Which has spaces to put small screws along the edge for a better look? There is plenty of room to stick in the electronics and its drives well. However, the right tyres are needed! A great purchase and print! I would recommend you try this yourself! Also, there is a Bugatti version available and an RC truck which is used to transport them. Check it out!
Enjoyed this review? Check out EasyThreed: Manufacturer Breakdown, Check This Out! or Aibecy CR10 Mini Overview – Is it any good?


